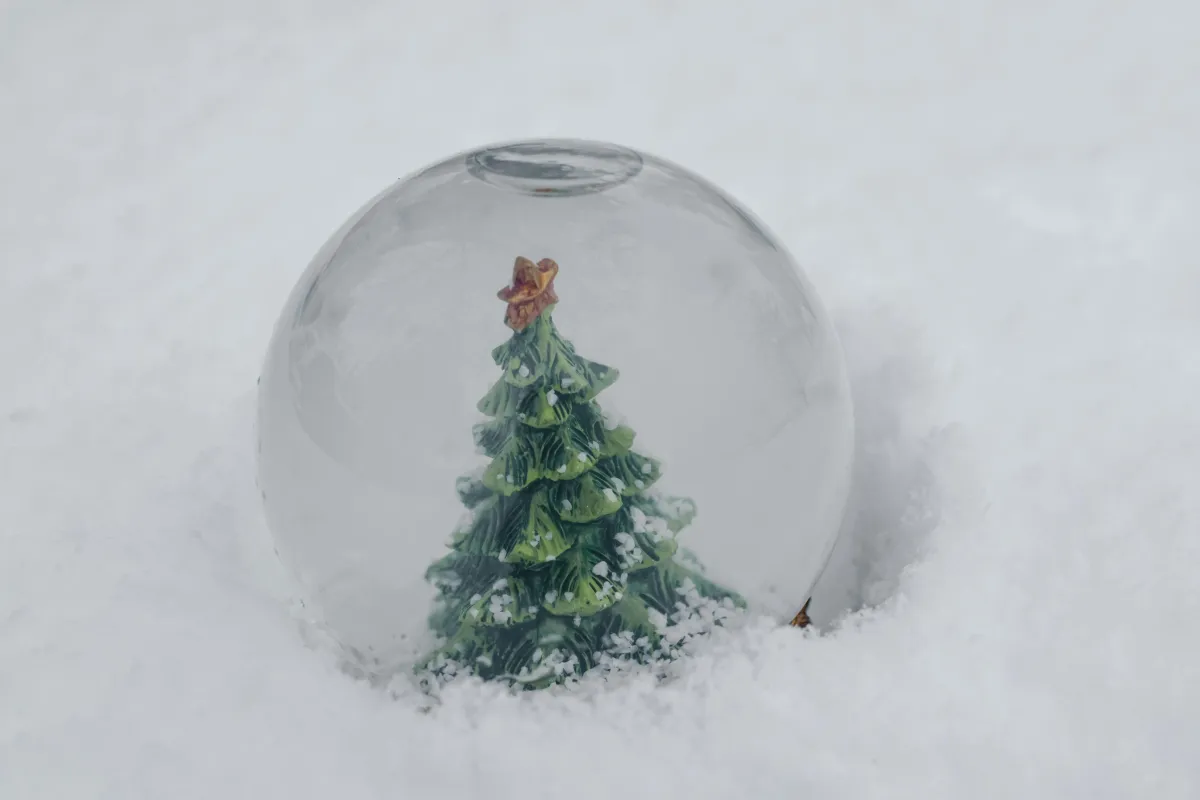
Keep the Kids Busy with DIY Snow Globes
If your kids are going stir-crazy with the cooler weather, or if you’ve got a million things on your Christmas to-do list, and you could all use some more no-books learning activities, I’ve got another idea for you!
The holidays are the perfect time to engage kids with creative activities that spark their imaginations. When the winter days seem long, DIY snow globes are a magical way to keep little hands busy while creating beautiful keepsakes or heartfelt gifts for loved ones.
(Tip: If you have a responsible teenager who can oversee the glue gun and has an aptitude for crafts, this could be a great time to delegate some leadership to him/her to oversee the craft time while you sneak away to wrap gifts or build your online shopping cart. Of course, if you’re like me, you probably don’t want to miss out on the fun, so Amazon can wait!)
What You’ll Need:
Mason jars with lids (small jars work best for little hands)
Small, waterproof figurines or toys (think trees, snowmen, or tiny animals)
Fine glitter (silver, white, or multi-colored for a festive effect)
Water
Glycerin (optional, for slower glitter movement)
Hot glue gun and glue sticks
Steps to Make Your Snow Globes:
Select Your Jar and Figurines:
Choose a clear mason jar and small, waterproof figurines. If you’re feeling adventurous, kids can paint or customize plain figurines to make them more personal.Prepare the Lid Base:
Use a hot glue gun to securely attach the figurines to the inside of the jar lid (lay the lid flat with the inside facing up). Arrange a scene—like a snowy forest with trees and animals or a cheerful holiday village on the facing side of the lid. Let the glue dry completely before moving to the next step.Fill the Jar:
Add water to the jar, leaving a small space at the top. Stir in a few drops of glycerin if you have it, as it helps the glitter fall more slowly. Sprinkle in a generous amount of glitter (not too much, or it may clump).Assemble the Snow Globe:
Pick up the lid with the scene built on it, turn it over, and carefully lower the figurine-topped lid into the jar, and screw it on tightly. You can add an extra layer of waterproof glue around the rim to prevent leaks.Shake and Enjoy:
Flip the jar upside down, give it a shake, and watch the glitter swirl around your scene like falling snow. Kids will love seeing their creations come to life!
Tips for Success:
Theme Ideas:
Encourage kids to pick a theme for their snow globe—winter wonderlands, underwater scenes, or even their favorite storybook characters.Safety First:
Supervise young children when using the hot glue gun or handling glass jars.Personal Touches:
Add a ribbon around the lid or a small label with the maker’s name and date for a truly personal keepsake.
Why This Activity is Perfect for the Holidays
Creating DIY snow globes is more than just a craft—it’s an opportunity to slow down, bond as a family, and let kids explore their creativity. Plus, they’ll feel a sense of pride seeing their handmade creations displayed or gifted to loved ones.
Imagine giving your child the freedom to explore their creativity every day. With homeschooling, learning doesn’t have to be limited to traditional subjects. From crafts to hands-on projects, you can design a personalized education that fosters curiosity and confidence. Learn More Here!
Because our kids deserve better,
Amy
